Sending Method Overview
When you launch a ThruText campaign, you can choose from several sending methods that control how initial messages and followup messages go out. This guide helps admins understand when to use Manual Send, QuickSend, Bulk Send, or Scheduled Send so you can match your sending approach to the size, timing, and staffing needs of each campaign.
TABLE OF CONTENTS
- Choosing a Sending Method
- Manual Send
- QuickSend
- Bulk Send
- Scheduled Send
- Sending Methods Comparison
- Additional Resources
Choosing a Sending Method
There are four methods for sending messages within ThruText.
- Manual Send: Each message, including replies, is sent individually by a sender.
- QuickSend: All the initial messages and/or followup messages in a single sender assignment are sent automatically with one click.
- Bulk Send: All the initial messages for an entire campaign are sent by an admin from the campaign creation Review page, and replies are handled later within sender assignments.
- Scheduled Send: A Bulk Send that is scheduled to start at a specific time in the future instead of immediately.
QuickSend, Bulk Send, and Scheduled Send can be enabled at no extra cost. Due to legal and compliance requirements, certain types of outreach are not eligible for these methods. Reach out to support@getthru.io to enable these for your account.
Manual Send
Manual Send is the standard sending method for all messages in ThruText. Senders send each message individually by clicking the Send button in the Messenger.
If you have not requested any other sending methods for your account, Manual Send is the default method for all messages in your campaigns. It is the only method available for replies.

QuickSend
QuickSend enables senders to send all their initial or follow-up messages for a single assignment with a single click. QuickSend sends messages at about 10 per second, but the exact speed may vary based on the sender’s internet connection. It only sends messages assigned to that specific sender.
Once enabled at the account level, QuickSend can be toggled on or off from the Senders tab during campaign creation or from the Senders tab of an active campaign.
To use QuickSend:
- Open the Admin or User Messenger.
- Click Send All to send all messages in the current assignment.
The GIF below shows QuickSend in action from the Admin Messenger view.

If QuickSend is enabled while users already have the Messenger open, they must refresh the page to see the updated Send All button.
Bulk Send
Bulk Send allows admins to send all the initial messages for an entire campaign from the Review step of campaign creation.

When you use Bulk Send, initial messages begin sending as soon as you confirm the action in the Bulk Send modal.
To start a Bulk Send:
- Create your campaign and proceed to the Review step.
- Click Bulk Send Now.
- Review the confirmation modal.
- Click Bulk Send Now in the modal to finalize the request and initiate sending.

Bulk Send Requirements
Bulk Send requires:
- The current time is within the campaign’s Start Date and End Date (also known as the Initial Message Sending Window) and within the account’s daily open hours.
- The campaign uses a dedicated phone number, not a single-use number.
If any of these settings are not configured correctly, the Bulk Send modal will display an error message describing what needs to be updated before you can proceed.

Bulk Sending Status
After you click Bulk Send Now in the confirmation modal, the campaign enters a Bulk Sending status. During this time:
- The top tabs on the campaign details page and key action buttons (such as Archive and Export) are temporarily disabled.
- Messages are sent in the background until all initial messages are complete.
If the initial message includes sender variables, the system uses the details of the user who clicked Bulk Send Now to populate those variables.
When the Bulk Sending stage finishes:
- An email is sent to any senders assigned to the campaign letting them know they may have replies ready.
- Senders then handle replies using the Messenger.
- Although Bulk Send is only used for initial messages, you can use QuickSend for follow-up messages within the same campaign.
Scheduled Send
Scheduled Send allows admins to schedule a Bulk Send for a future time instead of sending immediately.
From the campaign creation Review page:
- Click Schedule Bulk Send.
- In the modal, review and confirm the date and time that messages will be sent.
- Click Schedule Bulk Send for [date/time] to finalize.
The button in the bottom right of the modal shows the exact time that messages are scheduled to start sending.

How Scheduled Send Time Is Determined
The Scheduled Send Time uses:
- The campaign’s Start Date.
- Whichever is later: the Start Time or the Daily Open Time.
For example, if the Start Date is 6/2/25 2:00 PM:
- If the Daily Open Time is 9:00 AM, the Scheduled Send Time will be 6/2/25 2:00 PM.
- If the Daily Open Time is 5:00 PM, the Scheduled Send Time will be 6/2/25 5:00 PM.
NOTE - The Scheduled Send Time is based on the campaign’s selected timezone. Confirm the timezone before scheduling.
Scheduled Send Requirements
Scheduled Send requires:
- The Start Date and Start Time are in the future.
- The Daily Close Time is after the Scheduled Send Time.
- The campaign uses a dedicated phone number.
If any requirement is not met, the Scheduled Send modal will show error messages indicating what needs to be changed.
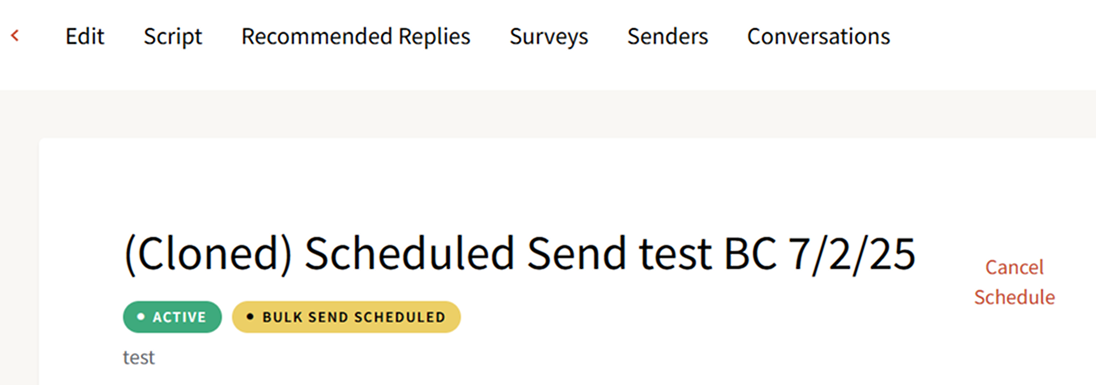
Bulk Send Scheduled
After you click Schedule Bulk Send for [date] in the modal, your campaign moves into a Bulk Send Scheduled status.
While a campaign is in Bulk Send Scheduled status, you can:
- Edit the Scheduled Send Time:
- Click Edit on the campaign details page.
- Adjust the Start Date and/or the Daily Open Time.
- The Scheduled Send Time will update based on the new Start Date and the later of the Start Time or Daily Open Time.
- Edit the initial message script:
- Click Script and update the initial message.
- Cancel the scheduled send:
- Click Cancel Schedule.
- If you cancel, the campaign converts to a normal campaign.
- A New Assignment email is sent to all senders, instructing them to send their messages using Manual Send or QuickSend from the Messenger.
If no senders are assigned when you cancel the schedule, go to the Senders tab to assign senders and then use Reassign Conversations to distribute conversations to them.
While the campaign is in Bulk Send Scheduled status, the Archive and Export buttons are disabled. They become available again after the campaign enters and completes the Bulk Sending stage.
When your Scheduled Send Time arrives:
- The campaign automatically moves into Bulk Sending status, similar to a regular Bulk Send campaign.
- Messages are sent in the background.
- A New Replies email is sent to senders assigned to the campaign.
- From the sender’s perspective, the experience is the same as Bulk Send once messages begin sending.
Sending Methods Comparison
Undecided on which sending method to use? Use this table to compare options at a glance.
| Category | Manual Send | QuickSend | Bulk Send | Scheduled Send |
|---|---|---|---|---|
| Sending Options | Initial messages, followup messages, and replies. | Initial messages and/or followup messages. | Initial messages only. | Initial messages only. |
| Phone Number Type | Dedicated or single-use number. | Dedicated or single-use number. | Dedicated number only. | Dedicated number only. |
| Sending Time | Can be set up for current or future sending, based on the Initial Message Sending Window and daily open and close times. | Can be set up for current or future sending, based on the Initial Message Sending Window and daily open and close times. | Sends immediately when Bulk Send is confirmed, within the Initial Message Sending Window and daily open and close times. | Sends in the future at the Scheduled Send Time, based on the Initial Message Sending Window and daily open and close times. |
| Sending Initiation | Initiated in the User or Admin Messenger. | Initiated in the User or Admin Messenger. | Initiated from the Review page during campaign creation. | Initiated from the Review page during campaign creation. |
| Sender Process | Sender or admin clicks Send for each message; a New Assignment email is sent when assignments are created. | Sender or admin clicks Send All; a New Assignment email is sent when assignments are created. | Admin handles initial message sending; a Bulk Send replies email is sent to assigned senders. | Admin schedules initial message sending; a Bulk Send replies email is sent to assigned senders. |
| Initial Assignments | Senders can be assigned at launch or receive self-assigned batches for initial messages. | Senders can be assigned at launch or receive self-assigned batches for initial messages. | Admin sends all initial messages in one batch. | Admin sends all initial messages in one scheduled batch. |
| Permission Level | Default option | Moderators and above can enable QuickSend on a campaign. | Admins and above can choose Bulk Send. | Admins and above can choose Scheduled Send. |
| Feature Availability | Default sending method for campaigns. | Available by request; when enabled, can be toggled on or off on the Senders step per campaign. | Available by request; when enabled, appears on the Review page. | Available by request; when enabled, appears on the Review page. |
Additional Resources
- For details on the message sender experience for each sending method, please check out our guide on Sending Method Information for Message Senders
- See our guide Launching a ThruText Campaign for details on all other campaign launching steps.
- See our guide ThruText Campaign Summary for details on reviewing your active campaign information.